Have you ever looked at a beautifully designed room and thought about how you could create a similar atmosphere in your own home? If you’re drawn to the elegance and simplicity of Japandi design, you might be wondering if you can DIY Japandi furniture to achieve that modern aesthetic. This article will guide you through the concept of Japandi furniture, how you can create your own pieces, and share some helpful tips along the way.
What is Japandi Style?
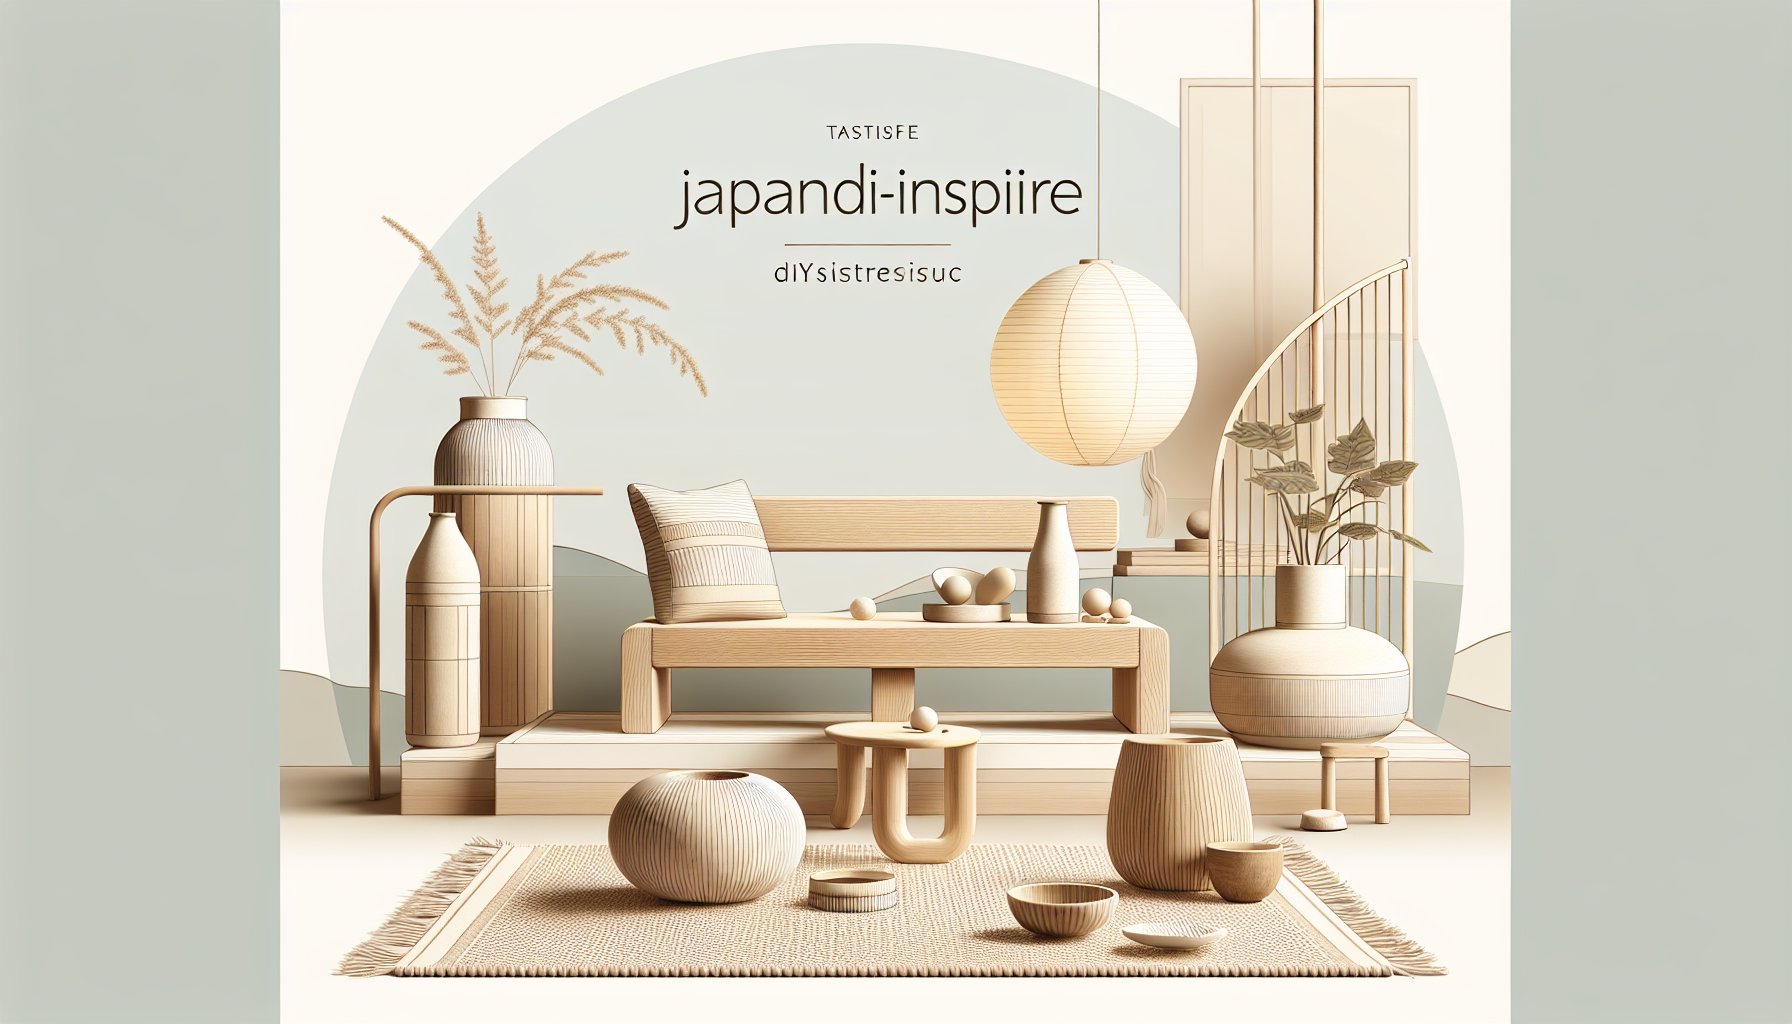
Japandi is a fusion of Japanese and Scandinavian design, combining the minimalism and functionality of Scandinavian aesthetics with the simplicity and natural elements found in Japanese culture. The end result? A style that promotes tranquility and promotes a clutter-free environment.
By focusing on clean lines, neutral color palettes, and natural materials, Japandi furniture embodies a serene and harmonious atmosphere. If you appreciate minimalistic living and sustainable design, then crafting your DIY pieces in this style can add character to your modern home.
Key Characteristics of Japandi Style
Understanding the core elements of Japandi will help you tailor your DIY projects.
- Minimalism: Focus on simplicity. Each piece of furniture should have a purpose and blend into the overall design without overwhelming the space.
- Functionality: Craftspeople value functionality; every item should be useful and applicable within the living space.
- Natural Materials: Wood, bamboo, and stone are common in Japandi design. Using these materials helps to create a natural feel.
- Earthy Color Palette: Neutral tones like whites, beiges, and soft grays, accented with muted colors, create a warm and inviting atmosphere.
By incorporating these elements into your DIY projects, you can successfully emulate the Japandi style in your home.
Is DIY Japandi Furniture Feasible?
Now that you understand the Japandi style, you might ask yourself whether it’s possible to create this kind of furniture on your own. The good news is that DIYing Japandi furniture is not only achievable, but it can also be a rewarding experience.
Benefits of DIY Japandi Furniture
Creating your own pieces offers numerous advantages:
- Customization: You can design furniture that fits your specific space and taste. It allows for flexibility in size, color, and shape.
- Cost-Effective: DIY projects can save you money. Generally, purchasing raw materials is less expensive than buying ready-made furniture.
- Satisfaction: There’s something truly gratifying about building something with your own hands, particularly when it enhances your living environment.
Getting Started with Your Japandi Furniture DIY
Before embarking on your DIY journey, gather some essential tools and materials. Having everything ready will streamline the process and make it more enjoyable.
Essential Tools You Will Need
- Measuring Tape: Accurate measurements are crucial for your DIY project.
- Saw: A hand saw or power saw will be necessary for cutting wood.
- Drill: This will help you with assembly and adding screws.
- Screwdriver: For assembling parts of your furniture.
- Sander: Ensures a smooth finish on your wood surfaces.
- Paintbrush or Roller: If you plan on painting or staining your furniture.
Materials to Consider
- Wood: Look for quality hardwoods like oak or walnut for durability.
- Natural Stains or Paint: Choose colors that align with the Japandi palette to maintain that neutral look.
- Hardware: Select simple, minimalistic handles and hinges, which are suitable for the style.
Popular DIY Japandi Furniture Projects
Let’s explore some specific Japandi-inspired furniture pieces that you can create in your home.
1. Japandi Coffee Table
A coffee table is a centerpiece in your living area. Making a Japandi coffee table can serve as both a functional piece and a beautiful decorative item.
Materials Needed:
- Plywood or hardwood panels
- Wood glue
- Legs or blocks (you can opt for wooden legs or bamboo)
- Natural stain or clear varnish
Steps:
- Design Your Table: Sketch out a simple design, keeping the proportions balanced.
- Cut the Wood: Cut your panels to size – a rectangular or square top is ideal for a Japandi look.
- Assemble: Use wood glue and screws to attach the top to the legs.
- Finish: Sand down the surfaces and apply a natural stain or varnish.
2. Japandi Shelving Unit
Shelves are an excellent way to display objects while maintaining a clean look. A floating or basic shelving unit can easily be made at home.
Materials Needed:
- Floating shelf brackets
- Wooden planks
- Sandpaper
- Paint or stain
Steps:
- Measure the Space: Determine where you want to install your shelves and measure everything.
- Cut Planks: Cut your wooden planks.
- Sand and Finish: Smooth the surfaces and apply stain or paint to achieve that earthy tone.
- Install Brackets: Secure the brackets to the wall and place your shelves on them.
3. Japandi Bed Frame
A simple bed frame aligns beautifully with the Japandi aesthetic. This project will require more effort but can transform your bedroom.
Materials Needed:
- Wooden boards (for the frame)
- Plywood (for the support base)
- Natural finish for wood
- Screws
Steps:
- Choose Design: Draw a basic outline of the bed frame you wish to create. Keep it simple without elaborate carvings.
- Construct Frame: Cut two long planks for the sides and two shorter planks for the ends, forming a rectangle.
- Add Support: Add the plywood as a foundation or use wooden slats for mattress support.
- Finish: Sand and finish with natural, eco-friendly wood stain.
Tips to Achieve a Perfect Japandi Touch in DIY Furniture
Creating Japandi furniture is about embracing minimalism and functionality. Here are some tips to keep in mind during your projects.
Utilize Quality Materials
Invest in good quality wood and materials. They will not only last longer but will also enhance the aesthetic appeal of your furniture.
Embrace Natural Tones
Pay attention to color choices. The right stains can add warmth and enhance the natural feel of the wood.
Keep It Simple
Avoid overcrowding your furniture with unnecessary details. Clean lines and simple designs are hallmark characteristics of the Japandi style.
Combine Textures
While maintaining a minimalistic look, you can play with textures. Pair wooden surfaces with soft fabrics or ceramics to create warmth.
Be Patient
DIY projects require time and effort, so don’t rush through them. Take your time to ensure everything is executed correctly and that each piece of furniture reflects the essence of Japandi.
Maintaining Your DIY Japandi Furniture
After you’ve crafted your furniture, it’s essential to maintain it for longevity. Regular care ensures your pieces stay beautiful and functional.
Cleaning Tips
- Use a soft, damp cloth to wipe surfaces, avoiding harsh chemicals that can damage the finish.
- For wooden furniture, consider applying a wax or oil every few months to nourish and protect the wood.
Repairing Scratches
If you notice scratches, don’t fret! You can easily touch them up with matching wood stain or wax.
Conclusion
Creating your DIY Japandi furniture can be a fun and fulfilling process, allowing you to add a personal touch to your modern home. With the right materials, tools, and understanding of Japandi characteristics, you can achieve those serene and minimalist furnishings you admire. Whether it’s a coffee table, shelving unit, or bed frame, your efforts will not only enhance your space but also elevate the way you experience your home.
As you embark on your DIY journey, remember to enjoy the process and appreciate the simplicity and tranquility of the Japandi design. You have the creativity and the ability to craft beautiful, meaningful pieces for your living environment—happy crafting!